

|

|

|

|

|

|

|

|
July 21 to Year end 2010 ~ Finishing up for the Year
Welcome to Wood Kayak Gallery One ~ Skinning, Finishing, Testing and Rigging ~ Click Pix to Enlarge ~ Best on Wide Screen ~ Press F11 ~ Hold mouse over pix for title.
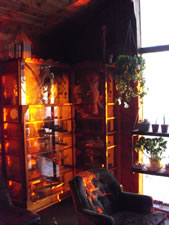
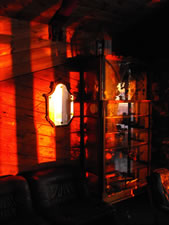
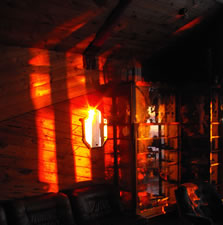
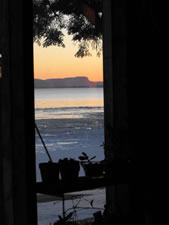
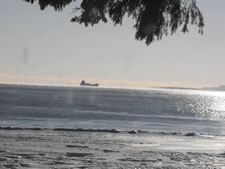
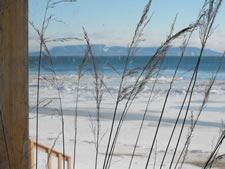
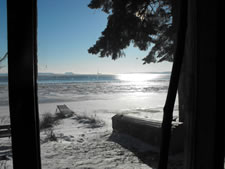
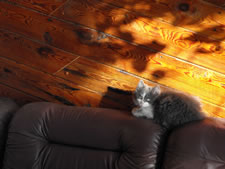
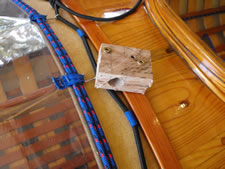
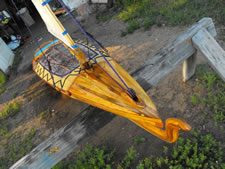
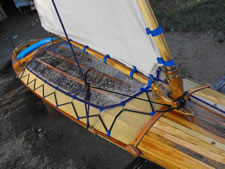
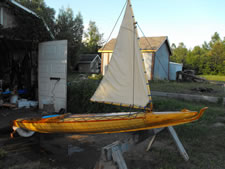
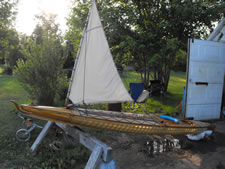
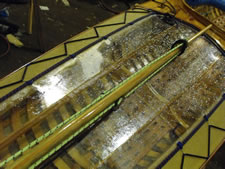
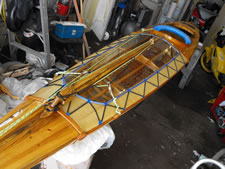
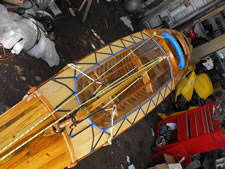
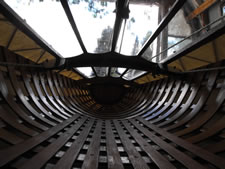
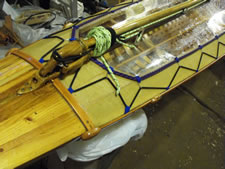
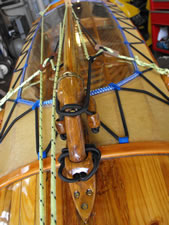
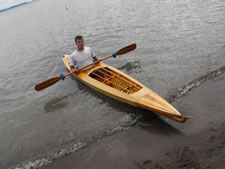
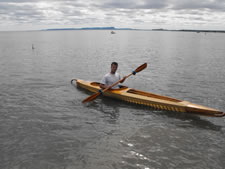
This ends all the pictures taken in 2010 and it appears that I will have to add some more detailed pix of the completed boat. There is still some last details to attend to. The plastic window in the rear held up in the water but the front vinyl pulled away from its moorings and needs a different kind of system other than nylon rope that expands about 2 inches per yard when wet. This causes the window to become loose and also the mast to lean off to one side and generally be unstable. Next spring (2012) there will be another Gallery solving these problems. You can see that the house (top of page) is made of the same type of oiled wood as the Kayak and even looks tidy when the sun is blasting it’s evening colors into my living room. Sailing Mini this fall was an absolute disaster because of the rope and I got a good dunking several times. Just using her as a Kayak works better but getting out past the waves is a chore with the leaking window. Nothing like a good challenge.
|
|
|
|
|
|
|

|
|
|
|
|
|
|
|
|
|
|
|
|
|
|
|
|
July 01 to 21 2010 ~ Windows, Fitting and Testing
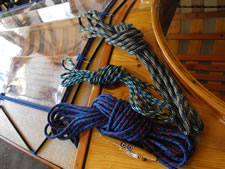
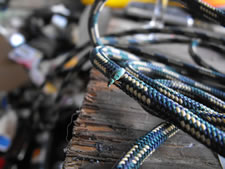
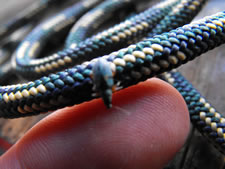
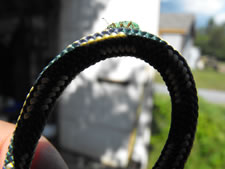
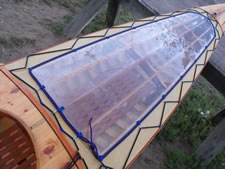
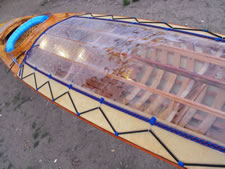
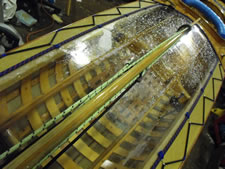
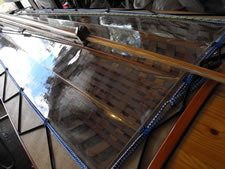
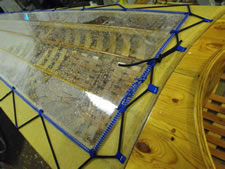
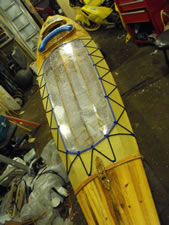
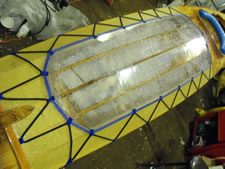
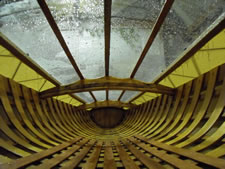
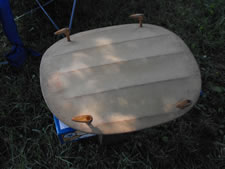
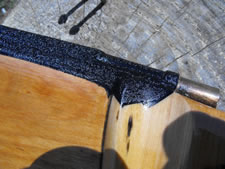
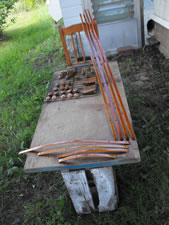
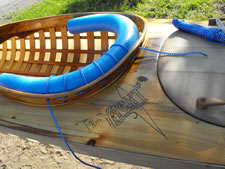
There is never wood purchased for any of my projects. The finest Oak and Ash can be had from pallets and good used furniture. Spruce is plentiful here and my favorite because of it’s rough beauty and lightweight strength for spars, longerons and beams. Old doors and frames are made of the finest Douglas fir and I save every piece I find. White pine was used for the ribs, simply sawn and planed from an old 2" by 4". The failing nylon rope is pretty much useless for a boat because; as it looses it’s tension the rudder stops being responsive, the mast stays become loose and the front window tie downs begin to let water in. In the update this summer (2012) I have purchased some covered marine cable to solve these problems.
|
|
|
|
|
|
|
|
|
|
|
|
|
|
|
|
|
|
June 24 to 30 2010 ~ One Coat of Boiled Linseed Oil and Three Coats of Spar Varnish on the Canvas too
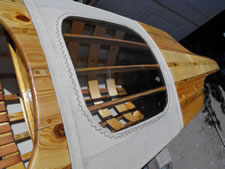
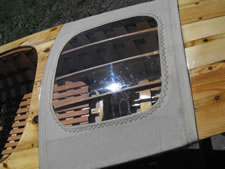
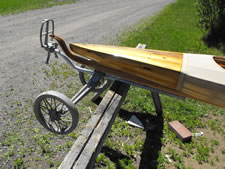
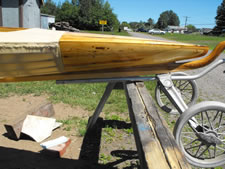
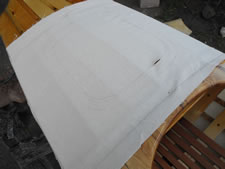
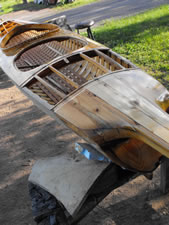
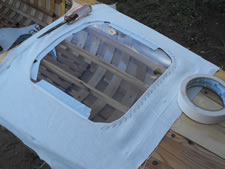
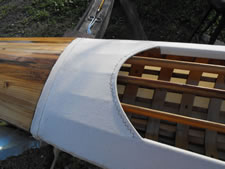
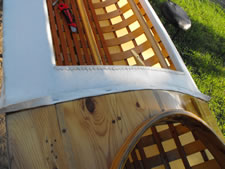
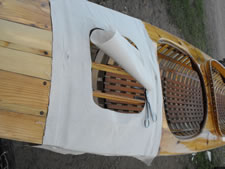
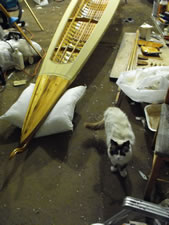
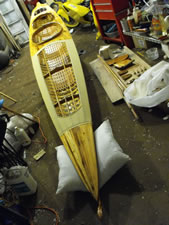
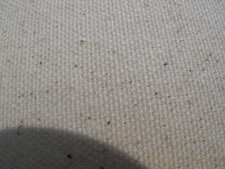
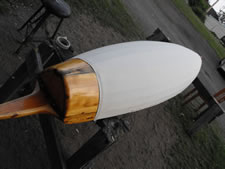
8 or 10oz Canvas duck available at the local Fabricland holds up well in water and keeps the boat quite dry but needs both the oil treatment, a good day or two to dry and three coats of spar varnish. Don’t use urethane because it peels when it ages and has a cloudy look over the wood. Spar Varnish slowly evaporates from the surface so you never need to remove any quantity of it when you repaint. Duck is stretched and then stapled about every two inches with stainless steel staples and you need to go from side to side when you do this. I fold the edge back and tack it in place, then cover it with 3/4" by 3/16" fir strips that are screwed on with brass screws. Don’t use any steel staples or screws because they will discolor the entire area. Duck type canvas gets tighter when wet.
|
|
|
|
|
|
|
|
|
|
|
|
|
|
|
|
|
INTS The Institute of Non-Theoretical Science Our Host Site Email Grampa Nsoar@tbaytel.net Webmaster |
-------------- |
All Voice Recordings for INTS Sponsor Site (115 Mp3’s) |

|
©